This week's challenge is to come up with a Christmas Gift idea. I always have great intentions to make more gifts at Christmas, but never actually get round to it. So this year I am determined to make some stationary boxes with a selection of hand made cards to give to non-crafting friends. My friend Liz led a few workshops making these, back in the days of Stampaholics. They went down well but I never got the chance to join the workshop. I had always intended to have a go so here it is 3 years later!! The template and instructions can be found on Splitcoast Stampers and is really easy to make. The key really is to use 12 x 12 paper that is quite thick but you could use card stock and stick decorative panels on top. So here it is ..... my stationary box.
This is the completed box. The flower was made from several layers of large daisies punched from text paper coloured and scrunched up.
Then open the box :
The front folds down to reveal the compartments for your handmade cards and tags. The main compartment will take 6x6 inch cards.
I also made a little address book and an envelope to hold postage stamps.
These 3x3 inch gift cards fit perfectly into one of the front pockets.
Then I made some luggage label style tags to go in the other front compartment. I thought these would look good on parcels wrapped with brown paper and tied with raffia. In fact I will gift wrap this gift in that way to suggest that idea to my friend.
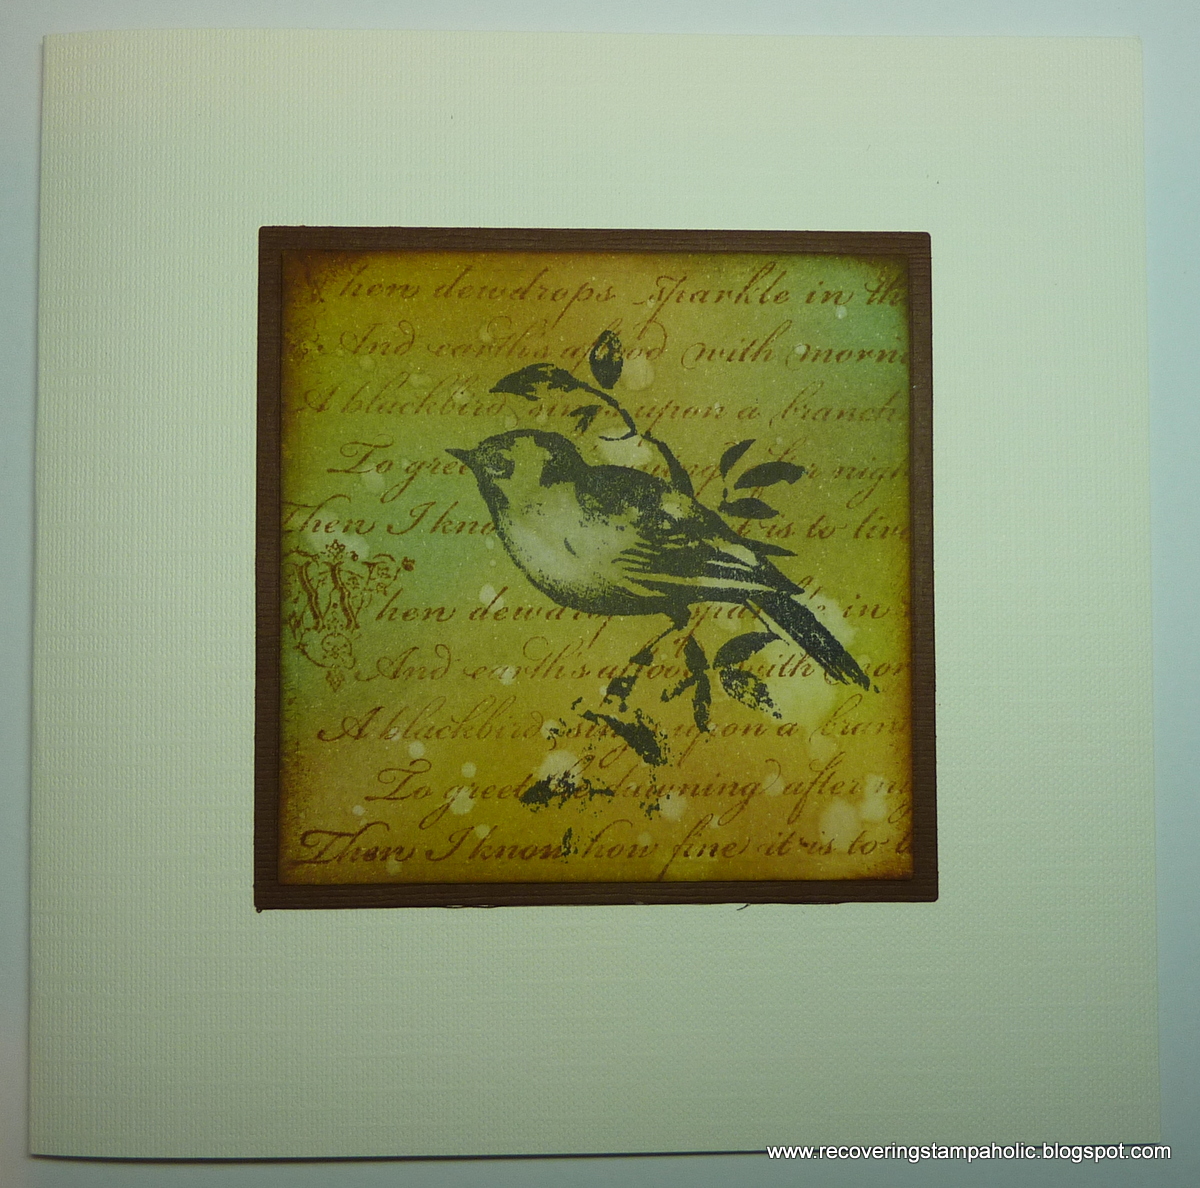
Then I made six square 6x6 cards in a similar theme. The intended recipient is a bit of a nature lover so I thought she would like these.
All the stamps used in the cards are by Stampendous. They are all images I use time and time again. The next stationary box I make is for someone who likes cute and girly things. Really, the possibilities are endless.
There have been some really inspiring projects this week on the Woodware blog ranging from a gift bag, a muffin tin advent calender and a Noel Christmas decoration. Be sure to pop over for a look!!
I am looking forward to a quiet weekend before the madness that is Christmas completely takes over!!
Siobhan x
There have been some gorgeous samples on the Woodware blog this week.
I don't do much black and white normally so this was a bit hard for me!! However after seeing what my fellow DT members have done I could be converted.
Well here is my effort. It is an easel card and features an old but still current Stampendous stamp of the three wise men. There is so much detail in this image that I felt it would work well for this theme.
I apologise for the photos, they are not great. I am struggling to get daylight just now. It's darkish in the morning leaving for work and completely dark by the time I get home!!.
The borders on the main card were stamped using the border stamp from a clear Stampendous set called "Damask Chair". It is such a lovely border which I use for lots of things and I thought it worked well here.
The black matting layers are black glitter card for a bit of Christmas bling (although it doesn't show up in this photo!!)
And of course I had to add a few pearls. Woodware sell strips of pearls in lovely scroll type patterns which are great for adding that little something extra!!
Be sure to check out what the other girls have made this week for loads of inspiration.
Hope you have a great weekend!!
Siobhan x
This month at the Stamp Man we were set an embossing challenge. Any type of embossing so I went with heat embossing with powders for this Christmas card.
I have used normal powders and some Frantage powders to hopefully give this card the wow factor!!
The main image is the gorgeous Stampendous "Snowy Postcard" Stamped twice onto white card using coffee Archival ink then colour added with Distress inks. The edges of the postcard were "Frantaged" using several colours of the aged and shabby powders.
The background was made using blended Distress Inks onto thick white card then distressed and layers of stamping.
I then embossed white snowflakes (free from last month's Craft Stamper" magazine. The border at the top is from Stampendous and comes from the jumbo cling Hollyhocks set.
To finish off I die cut a Tim Holtz reindeer from mount board, coloured and stamped with Distress inks. Then it was triple embossed with clear powder. And then finally more frantage powders around the background edges.
I really like this, so will probably give it to my husband, that way I get to keep it!!
You have until the end of the month to enter the Stamp Man challenge and have a chance of winning a gift voucher......so what are you waiting for!! I enjoyed this challenge and got another Christmas card for my box!!
Siobhan x
I am last up this week for a "Cute Christmas" at Woodware . I don't do a lot of cute stuff although it is nice for a change. But then the panic set in!!! I don't have many cute Christmas stamps that are stocked by Woodware. Then I remembered that somewhere I had this cute little Stampendous raccoon "Rocco Skate". The card took less time to make than it took me to find the stamp!! Never mind, such is life as a crafter!!
So here it is, my cute Christmas card:
The trees came from a clear Stampendous set "Birch Buddies". As my sewing machine is out at the moment I did some stitching around the sentiment and the background . The background was stamped with a tone on tone look using Jane's Woodware design "Faithful and Joyful" background stamp. I used double sided adhesive film on white card and glittered the edges with fine pastel blue glitter for the matting layer. That leaves a sticky centre to pop the main panel on!!
The punched border was using the Crafty Edger Bling Bling cassette. A few pearls and a bit of aqua organza ribbon to finish off. I know someone who will like this card!! I will keep it for her.
Hope you have a good weekend. I better seriously start my Christmas shopping. Just looked out my craft room window to see a flock of Waxwings in our rowan tree. Such lovely birds but my husband always moans that they leave such a mess behind!!
Siobhan x
I promised to share my circle journal with you once it was completed. Our group of nine each chose a theme for their own journal. We all designed the cover, rules and introduction and then completed the first two pages. Every month or six weeks we met for coffee in Perth for a catch up and to pass the journals on to the next person. Last month we met for a meal to return the journals to the original owner.
It was a very enjoyable thing to do, especially as a way to keep in touch and we have something special at the end of it.
So here is my journal. I chose Natural History as my theme (no surprises there!!) and this is what I got back at the end:
 |
| This is my cover |
|
|
|
|
|
Then I typed up my rules. I tried to keep them easy!!
I made my two pages next. I love ravens so decided to base my pages on the Crow family and learnt a few things along the way.
The next page was made by lovely Sue who knows I also love dragonflies. The pocket on the RH page had two tags with dragonfly facts on them. I love the colours and all the details.
Next up was Elizabeth who chose butterflies for her pages. I love the colours of these pages and the crackled butterfly in the ornate frame.
Then came Erin, Sue's daughter. Erin used to come to classes at the shop with her Mum at an early age and it has been lovely to see her style develop over the years.
Next up is Isobel. She lives on a farm and chose these lovely images of sheep for her layout. Isobel is probably the least experienced in our group but did a superb job on everyone's pages.
Then comes Lin. Her pages are always soft and gentle. She chose thistles for her pretty pages. The thistles in the middle are actually cut out from one of the paper bags we used in the shop. Lin worked with me in the shop for several years and helped me keep my sanity at times!!
Next is my friend Liz. She did this gorgeous layout based on owls. It even includes a booklet that tells me about all the British species of owls. I love the colours she has used.
The next two pages were from the lovely Lynne. She is such a busy lady who often works long hours. When I saw these pages I burst out laughing. One day her pages will come.....and I am sure they will be worth the wait!! Lynne has a love of elephants and I just knew this would be her theme.
Then last but definitely not least are the pages from Maggie. I love her style and she also has a great love of nature. The colours she has used are gorgeous and I love the use of Frantage embossing powders for texture. She too has included a little booklet on facts about sea horses.
The back of the journal had a pocket for tags where everyone wrote a little their pages.
I was so impressed at the effort everyone went too and now I have a lovely keepsake of all these friends work. We hope to meet up after Christmas and embark on another project.
I hope you enjoy looking at the journal and perhaps it might inspire you to do something with a group of your crafting buddies.
Siobhan x
This week at Woodware I am first up. It's another sketch challenge and here it is:
 A nice simple sketch to work with. I thought I would have one last go at an Autumn card before I knuckle down and get my Christmas cards made.
I love getting out to the countryside at this time of year. The trees are looking stunning with their autumn colours just now. But I know it won't be long before the trees are bare.
So here it is:
A nice simple sketch to work with. I thought I would have one last go at an Autumn card before I knuckle down and get my Christmas cards made.
I love getting out to the countryside at this time of year. The trees are looking stunning with their autumn colours just now. But I know it won't be long before the trees are bare.
So here it is:
The stamps came from two Artemio sets of meadow flowers. I love the bold silhouettes of the flowers but I also love some of the more delicate sprigs. My centre panel was a piece of white card and I blended shades of green, yellow and oranges for the background. A splatter of water to distress it slightly and it was ready for stamping.
The second panel was made in the same way but the colours kept softer. I also stamped using the second generation ink (stamp onto scrap paper lightly first).
The third panel was some rusty brown card stock and I gold embossed the delicate sprig with gold powder. The sentiment comes from a newish Woodware stamp designed by Jane.
I hope you like it. Sometimes the more simple cards can be the most striking.
Ah well, back to work today. Why do the weekends always fly by!!
Remember this is a challenge and if you want to win a voucher you need to enter. Check out the details at the Woodware blog.
Siobhan x
This weeks challenge at Woodware is "Frantaged Christmas". I love the Frantage range of embossing powders, glitters and mica fragments. But I decided in the end to keep it simple and use one of my favourite powders "Shabby White". Just before I started writing this post I checked the Woodware blog and found that Debs has also used this Stampendous stamp (CRR143 Snowy Postcard). She has gone for some lovely whites and blues. Anyway too late to change mine but hopefully it will entice you to get hold of this gorgeous stamp.
I stamped onto kraft card for my background. I also used the pine cones and sprigs from a Stampendous jumbo cling set CRS5040 Pine cone Boughs . I stamped the snowy houses onto white card as well to cut out the oval. For more accuracy I used the "Emboss Gloss" wand to apply embossing ink to the roofs of the houses and the snowy banks. Then I sprinkled on the Shabby White powder.
I also added a bit to the cones in the background and also along the bottom edge. I wanted to keep a vintage feel to this card. Sadly in the photos you can't see the sparkle and shine, but it really does catch the light.
Hope you have a good week.
Siobhan x
Jill at The Stamp Man has changed the format for the challenge blog. We have switched to a monthly challenge to give us the DT and you more time to design a project. As I love Birds, Bees and Butterflies I wanted to include all of them in my project.
When I was down in Yorkshire last month for a craft retreat we were shown how to make a box frame by the lovely Liz (some of you may know her as Lizzie Bobs). This is the one she made for me, which I have already posted , but it is so lovely I want to show it off again.
So I have used this as inspiration to make a larger version for the Stamp Man Challenge.
The original template uses a piece of card 8x8 inches:
Score all the solid lines, cut the centre cross and cut out the 4 solid corner boxes.
Here I have scored and cut out from a 12x12 sheet of white card stock. Instead of cm I have scored at 0.5 and 1 inch increments to make the frame element slightly bigger than the 8x8 version.
Fold all the score lines and use a bone folder to give them sharp creases.
Now just trim off those extra triangles and you are ready to decorate. Don't stick anything together until you have finished inking and stamping. I used Distress inks to colour the whole frame then masked of sections to stamp on the front of the frame and the edges.
For the base just measure the frame and cut a square just slightly smaller so there are no bits overlapping. I just coloured this piece about 2 inches in from the edge all round as I new I was making a separate centre panel.
The centre panel was a 16cm square of white card covered with text paper from my Oxfam bargain French dictionary. I added some antique linen Distress ink to age it then added layers of stamping. The gorgeous bird cage is a recent Stampendous stamp called "Bird Manor". I am sure you recognise the Tim Holtz stamps. The Papillon set is one of my favourites and perfect for this project as I wanted a Victorian nature journal feel to my piece.
I also added some gold embossed stamping around the edges and some Stampendous Frantage powders. If you haven't already tried these then I urge you to have a go. They are just gorgeous. I am gradually building up my collection, but my favourites are the shabby and aged ones.
So Liz, thanks for sharing this idea with us, and inspiring me to have a go. I was really pleased at how it turned out. I am going to have a go at a Christmas version.
Stampendous have just had a new release of stamps and I can't wait to get my hands on a few of them!! Luckily I have a birthday coming up and will be leaving my wish list lying around along with The Stamp Man's web address!!
There is still time to enter the challenge and as always there is a gift voucher up for grabs for the winner.
Hope you have a good weekend.
Siobhan
Just a very quick project this week. We are getting a few jobs done in our house at the moment. As you can imagine the place is in a bit of a mess and naturally lots of things get dumped in my craft room!! Hopefully by the end of the week things will be back to normal and my shattered nerves recovered.
So here is my very quick up cycled tin to fit with our up cycling theme at Woodware this week. I get these white tins from work and they are a great size to hold pens.
I cut a piece of nice background paper with not too much pattern on it (this was a Magenta paper). Then I stamped several layers of foliage stamps along the bottom edge.
These are from the latest Woodware release JG5272 "The hedgerow" .
 I stamped in two shades of green then a brown to give me a layered look. Then I added a sprig stamp (Stampendous) and embossed that with gold powder.
The final touch was a band of gingham ribbon around the top. I can now store all my new brush markers in one place!!
Hope you are having a good week. I can't believe the clocks go back this weekend. I better get the head down next week and start my Christmas cards!!
Siobhan x
This week we are using a monochromatic colour scheme with red as our main colour. I don't use much red but after making this simple Christmas card I might make a few as they are easy to batch.
I decided to use this lovely Dreamweaver stencil "JOY". I was initially going to do a paper piecing job on it, but then I changed my mind and decided to keep it very simple.
I used normal embossing paste on the stencil then covered with fine red glitter. The white background was embossed with a larger Dreamweaver snowflake background. You can't fully appreciate the sparkle in this picture, but it really does catch the light. This will be my minimal Christmas card for this year. But I think I will try it in some other colours as well.
I am having a bit of a break from stamping at the moment. I have been sewing!!! I have nearly finished a patchwork craft bag. I will put it on my blog when it's finished. My husband just commented that it doesn't look like a bag I have made!!! That is a compliment from him.
Hope you are having a good week. Already I am looking forward to the weekend and Strictly Come Dancing and a glass of wine.
Siobhan x
This week we were asked to make a vintage Christmas card. I was lucky enough to be given this beautiful new Stampendous Christmas stamp CRR143 Snowy Postcard.
The perfect choice for a vintage Christmas card. I stamped it twice onto white card using black ink. I cut out the oval and lightly coloured the sky with chalk then added yellow in the windows and some glitter.
For the outer post card I just blended some brown inks to give it that vintage feel. I then matted it onto copper card and used my Crafty edger for the background panel. The holly was cut out and glossy accents used to highlight the holly berries.
I used pearls to accent. The pearls above the oval are a new Woodware product. They come on a clear backing roll. Great to give a touch of opulence!!
I made this before I went on holiday to Ireland thankfully. I was organised for once!! I had a lovely few days spending time with my Dad and sister and her family. I will post more about that next time. Hope you have a good weekend. The forecast isn't good so I am hoping to get some crafting time!!
Siobhan x