Friday 27 March 2015

Stampendous - Dreamweaver - Woodware - Blog Hop - Making Texture

This week we’re going to celebrate with the awesome Stampendous Design Team and the Dreamweaver Stencils Dream Team all of the two companies have come together and we are excited to be able to kick start this marriage with the great Stampendous and Dreamweaver Stencils products that we at Woodware make available to the UK market.
http://www.woodware.co.uk/blog/wp-content/uploads/2015/03/banner.jpg
 We’ll be offering three prizes in the UK and three in the US. Each prize package will consist of  Nathalie Kalbach’s terrific Grunge Mixed Media Cling Rubber Stamp Sets and the beautiful Zen Butterfly Dreamweaver Stencil! Both products are ideal for adding texture and backgrounds to your projects!
So remember to visit and leave a comment.
Both products are ideal for adding texture and backgrounds to your projects!
And that’s our theme!! Making Texture. We hope you’ll enjoy the wonderful inspiration that three talented teams will bring you this week! Be sure to visit all the blog links listed and leave your comments! Each comment will count as an entry towards one of the terrific prize packages.
Well this has been a busy week for this collaboration from three great companies. I love Stampendous and Dreamweaver and have done for a long time. Although I must admit I do not use my stencils as much as I should do.
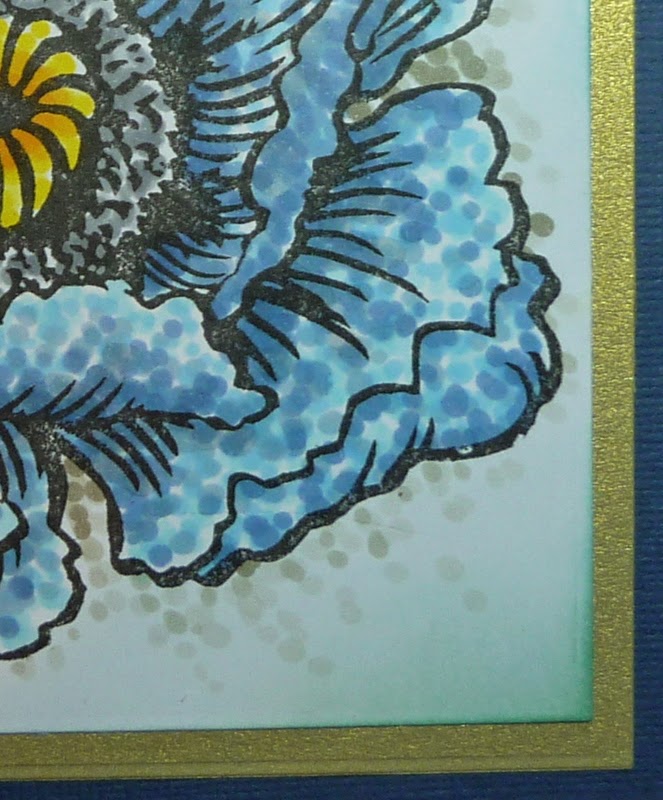
Here is my contribution, a tag using a combination of two sets of new Stampendous stamps, one from Nathalie Kalbach and the other an Andy Skinner set. I have gone with a Steampunk style. And I have kind of done a step by step as I sometimes get asked how to build up backgrounds to get depth and texture.


These were the stamps I used and here is the Dreamweaver stencil LJ915


I started off with white tag. I stencil embossed each end of the tag using the metal stencil.Then I stared blending dye inks over the top of it.


There was a plastic stencil/mask with the Nathalie Kalbach stamps which I used next to add to my tag.


Next I added some stamping in soft colours.


Then some distressing with splatters of water. I also used a pearlescent gold mica spray to add some lovely shimmer.


Now to start adding some stamping in black to make the images pop.


I also added some fine splatters of black ink with a fine paint brush.

I used some gold embossing on some stamped images and Frantage powders around the edges of the tag to add more texture.

 And then I added the clock which I die cut as a circle and raided my "hardware" box for all the finishing touches.
And here is my finished tag.


Talking off busy weeks. We have decided to move house to give us a bit more room for when family and friends come to stay. The house went on the market on Sunday and by Wednesday we had sold it. I am still in a state of shock!! The realisation that it will probably take me a month to pack up my craft room, is starting to worry me!!. Never mind, it will be all worth it in the end.
I hope you have enjoyed the hop this week. There have been some amazing projects and it's not finished yet. Be sure to follow the links below :


See you all next week. 
Siobhan x

Saturday 21 March 2015

WOODWARE - Accordion cards

Well I am last this week to post for our Woodware DT. It has been lovely to see all the variations on the theme of accordion cards. Mine is probably the simplest as it is cut from a single sheet of A4 card.


I once used this idea in a workshop so I already had the template drawn out for the folded card and the matting layers. 
The backgrounds for each panel were made by blending blues and rusty oranges. This is not my usual colour scheme but I wanted to be quite bold with this one!! I then over stamped softly with a script, flourish and leaf stamp. Then some darker foliage. To give the whole background a lovely shimmer I mixed some interference gold pearl-ex powder with water in a spritzer bottle. I sprayed the panels and dried with my heat gun. This resulted in a lovely shimmer!! Sadly this is not properly visible on the photos.


Then I added some birds and text to complete the card. The ribbon was cream which I dipped into the inks I used for the background. A swipe of each on the craft mat then spritzed with water and gold spray is perfect for dipping ribbon to get a great match for your project.


The charm and metal flowers were the final finishing touch. 


This card will fold up to fit a DL envelope.

Be sure to check out all the great accordion cards made by the rest of the team across on the Woodware blog.

Well thats' it for this week. My hubby and I are enjoying a quiet week end. The last two or three weeks have seen us painting, plastering, gardening and cleaning for all our worth. And tomorrow our house goes on the market!! We are hoping to get a house with a bit more room to make it nicer for family and friends to stay!! And a little craft room for moi!!
See you next week.
Siobhan x

Monday 9 March 2015

WOODWARE - Blooming Marvellous big blooms

Our challenge from Woodware this week is "Blooming Marvellous - big blooms". If I had looked at the list sooner I could have used the lovely jumbo poppy that I used in last week's challenge. But sadly I am never that organised. So I used a couple of Woodware clear stamps "Cow Parsley Flower Heads" and "Wheat", both designed by Jane Gill. 


I did a blended background first and then stamped the images in black to make them pop. The sentiment was gold embossed onto a strip of torn vellum and wrapped around the main panel. Then a bit of dry embossed gold and a text stamp on the pale green card. 


A card that could be used for lots of occasions.

I even managed a trip to a get to a craft shop on Saturday. Our tag group decided to have a day away to Craft World in Glasgow. It was a very enjoyable trip and we all managed to buy lots of lovely new items. So thanks Rosie, Pat, Isobel, Maggie and Sue!! I am itching to get into my craft room but at the moment it is full of bedroom furniture as we are painting our bedroom. So I will just have to be patient!!

A few people have expressed an interest in what Catriona and I have come up with for her wedding invitations. Now that they are all finished I can show you. Her theme is Art Deco. The stamps came from Waltzing Mouse and the embossing folder from Creative Expressions was perfect for her theme!!


And for the evening we went for something simpler. 


Next it's the place settings and menu cards!!
Siobhan x

Tuesday 3 March 2015

WOODWARE - Chosen by Jane - Pointillist Technique

This week at Woodware Jane was asked to chose this week's theme. And she came up with "pointillist technique". I have to admit my first reaction was a rather big groan!! Colouring in is something I am not great at so I wasn't looking forward to this week's challenge. But that's why it is called a challenge. And I am always game to try something once.

For my project I chose the beautiful poppy flower by Stampendous (CRS5048). This is a jumbo cling stamp and I thought it would lend itself to this technique.


Dorothy has a very nice explanation of where the technique comes from on the Woodware blog. I used Copic markers for mine. I also used the technique around the poppy to try and add some shadow.


Hopefully in the close ups you can see the individual dots. I actually used 5 shades of blue for the petals!!


It will be interesting to see what the other girls do with it. I have tried it but don't think I will be in a rush to do it again!! Although I do love the stamp.
Have a good week.
Siobhan x
Related Posts Plugin for WordPress, Blogger...